

Using Photoshop Color Blending Modes to Recolor
Unlock the power of Photoshop's color blending modes to transform the hues of your images in just a few easy steps.
Getting Started: Setting Up Your Workspace
Before diving into the process of recoloring in Photoshop, it's essential to set up your workspace for optimal workflow. Start by opening Photoshop and creating a new project or opening the image you wish to edit.
Make sure your layers panel is visible. You can do this by going to the ‘Window’ menu and selecting ‘Layers’. Additionally, having the ‘Adjustments’ and ‘Properties’ panels open will make the process smoother. These can also be accessed from the ‘Window’ menu.

Selecting the Perfect Image
Choosing the right image is crucial for achieving the best results. Look for a high-resolution image with distinct shapes and colors. This will make the selection process easier and the end result more impressive.
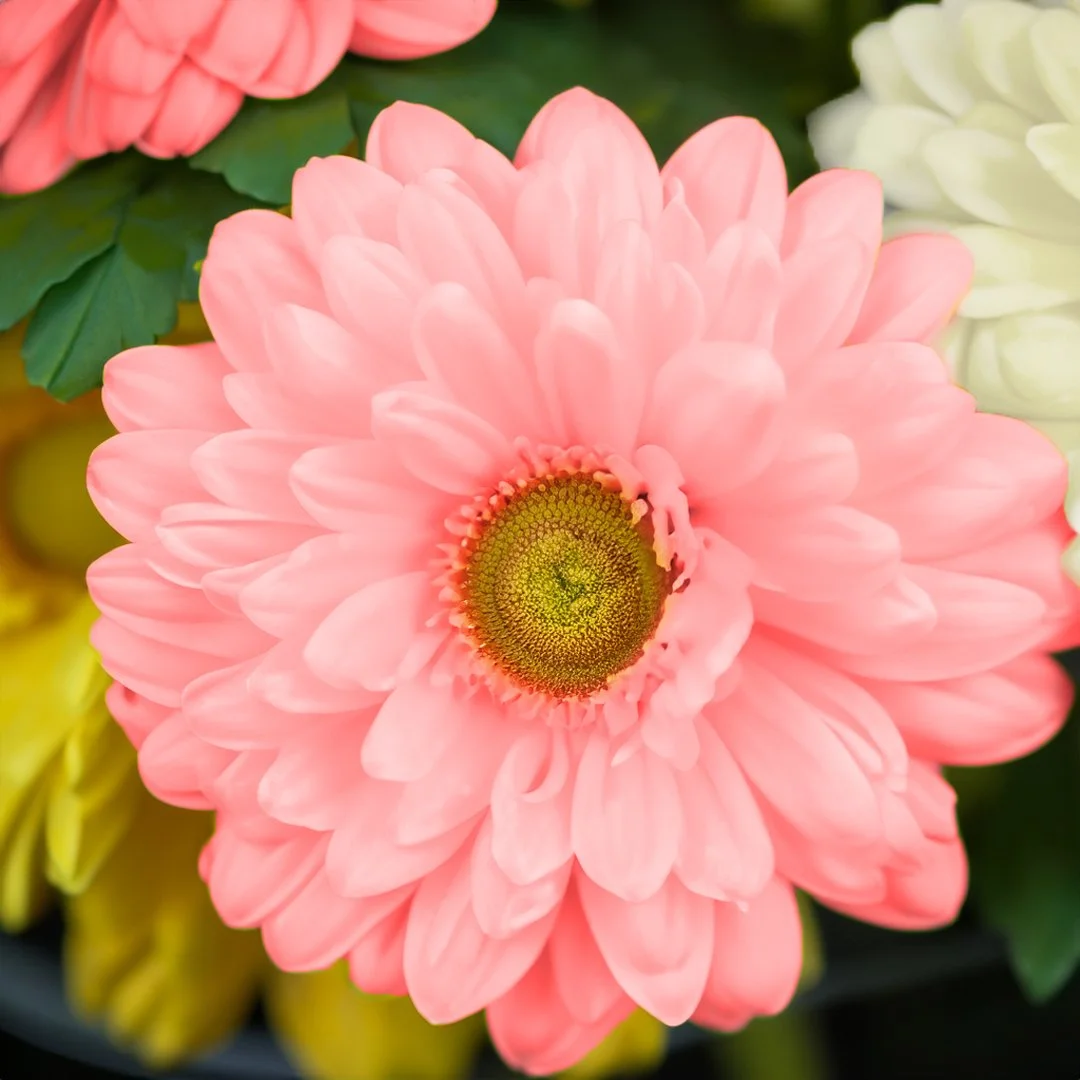
For this tutorial, you can use an image from your personal collection or find one from a free stock photo website. Ensure that the image is well-lit and has a good contrast between the subject and the background. I chose an image of some vibrant yellow flowers that I want to change to a more soft image.
Understanding Photoshop's Color Blending Modes
Photoshop’s blending modes are powerful tools that allow you to change how layers interact with each other. These modes can be found in the layers panel, usually set to ‘Normal’ by default. When changing the color of an object, different blending modes can produce varied and sometimes unexpected results.
The most commonly used blending modes for recoloring are ‘Hue’, ‘Color’, and ‘Overlay’. The ‘Hue’ mode changes the hues of your layer while preserving the lightness and saturation. The ‘Color’ mode changes both the hue and saturation but retains the lightness. ‘Overlay’ can add more depth and intensity by combining the colors of your layers more dynamically. By combining multiple layers using the hue, color, or overlay you can also create even more changes.
Step-by-Step Guide to Recoloring
1. Open your chosen image in Photoshop and duplicate the background layer by right-clicking the layer and selecting ‘Duplicate Layer’. This allows you to work non-destructively.
2. Use the ‘Quick Selection Tool’ or the ‘Pen Tool’ to select the flowers you want to recolor. Refine your selection by going to ‘Select’ > ‘Select and Mask’, and adjust the edges for a cleaner selection. For mine, I opted to leave the center out of my mask so that it retained the yellow color at the center.

3. Once you have your selection, create a new adjustment layer by going to ‘Layer’ > ‘New Adjustment Layer’ > ‘Hue/Saturation’. This will allow you to change the colors without permanently altering the original image. I created a red paint layer and set it to hue to make the flower pink and then created a white layer set to hue to change it to a white flower. For the white flower, I adjusted the opacity just a little bit to allow it to have a little bit of the yellow show through and giving it a more natural color.


4. Experiment with different blending modes by selecting the adjustment layer and changing the mode in the layers panel. Try ‘Hue’, ‘Color’, or ‘Overlay’ to see which gives the best result for your image. Additionally, you can select the FX button and choose a color overlay to change the color or adjust the color you already have changed by adding more color blended layers.
Tips and Tricks for Perfect Results
To avoid unrealistic results, work in small increments when adjusting the color sliders. This allows for more control and fine-tuning.
Use layer masks to selectively apply adjustments to specific areas. This is particularly useful if you want to recolor multiple flowers in different hues.
Experiment with different adjustment layers, such as ‘Curves’ or ‘Levels’, to fine-tune the overall look of your image. These adjustments can help balance the colors and add more depth. You can also adjust the overall tone of your image this way by adjusting color, brightness, saturation, etc.
Lastly, always save your work in a format that supports layers, such as PSD, to preserve all the adjustments and allow for future edits as needed. You never know when you might have to go back in and make an adjustment!
I hope this short tutorial helps you create even more fun and interesting images! Feel free to share by tagging @celestialbeardesign on instagram if you share something you create with this tutorial! If you have any questions comment below or feel free to reach out and I will do my best to help you!